Silk {Tie) Dyed Eggs: Easter {Eggs}travaganza
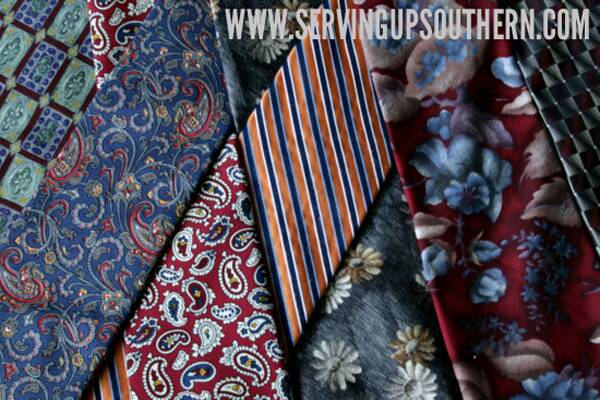
Chances are you can go to your husband’s closet (or your dad’s) and find a few outdated neckties lurking in the depths. If you don’t have a place to raid you can go to your local thrift store and find some for a little bit of nothing. That’s what I did. And…I think I did several somebodies a big favor by taking some of those ties out of circulation – never to be worn again.
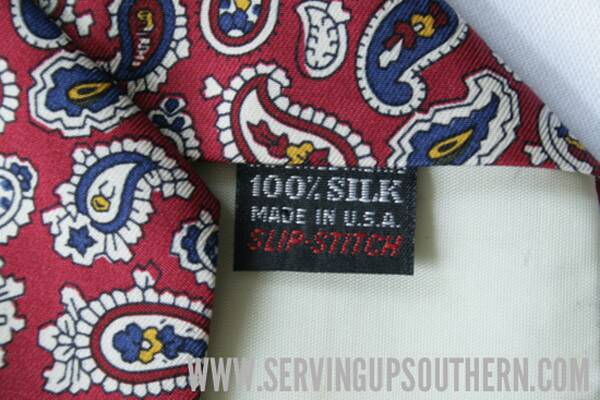
You need to make sure you get 100% silk ties. Don’t worry to much about the prints. You’ll find that the prints you love on the ties and expect to turn out sooo pretty on the eggs..don’t. And the prints you don’t like on the ties will look awesome on the eggs. You will also need white cotton fabric for wrapping. Remember that if you go to the thrift store. As for me – well let’s just say my son will be short a tee-shirt when he gets home from Bible school. He’ll never notice.
Take note – I, personally, do not recommend eating these. These eggs are not being dyed with food grade dyes. You can be your own judge here, but I would just make them for the sake of prettiness.
Now, to get started you’ll need to gather your ties and get ready for the destruction process.
Remember 100% silk.
Cut the ties open and remove the liners and tags. After opening the ties we cut the widest section off. Here is our pile of disassembled ties.
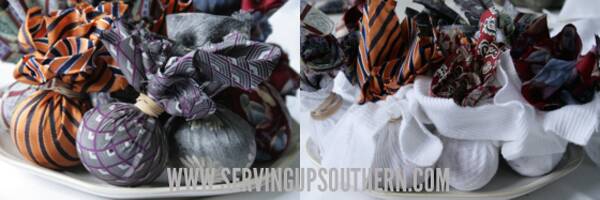
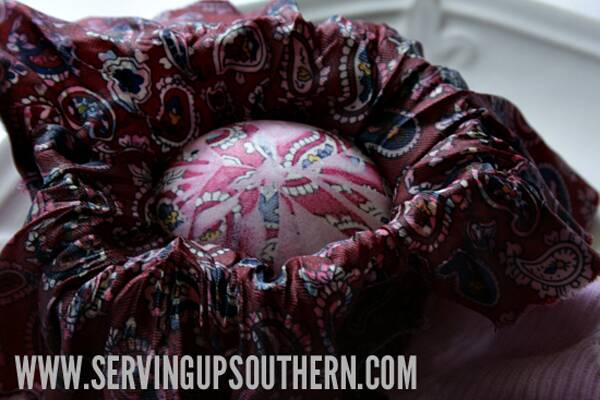
Next, you will wrap the fabric –wrong side out– around the egg using a rubber band, string, or twist-ties to secure. We used rubber bands. (We think they are the easiest.) Also, you can secure the fabric at the top of the egg, or on the side of the egg, creating the patterned effect you want. After you wrap the printed fabric around the egg you will need to wrap the white cotton fabric over that, securing the same way.
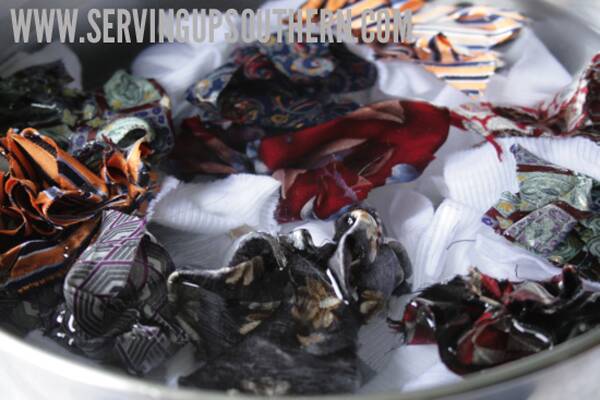
Put the eggs in a pan and add water, filling to about 2 inches above the eggs. Add a 1/2 cup of vinegar. Boil 20 -30 minutes. I did mine for 30 minutes on a barely boiling setting.
This is the fun part. Take the eggs out of the water and allow to cool until cool enough to handle. Then unwrap the eggs. I just used a pair of scissors and snipped through the rubber bands. You will find that each little “package” holds it own treasure of color and design.
Aren’t they just gorgeous! Don’t worry about the little imperfections. They just add to the beauty of the finished product.
After you’re done unwrapping your little treasures you can rub them with a little cooking oil to give them some shine.
I just love the way these turned out. So, what are you waiting for? You better run to the local Goodwill and beat everybody else to those ties. Happy {neck} tie dying!






Kim, this is a great website. Your photos are super. (I suspect Meg might have had a hand in them.) Your writing is fun and informative and your ideas are tops! Congratulations! Hope this really grows and grows for you.
Thank you Pam! You guessed it…Megan has the only hand in the photos. She does all of the food post images. We’ve been working hard on it. Keep checking back for new posts.