Chocolate Cherry Cake Torte
This Chocolate Cherry Cake tastes great and looks impressive. It has a delicious combination of chocolate and cherry flavors complemented with cream filling and trimmings. And it’s perfect for any occasion.
Jump to Recipe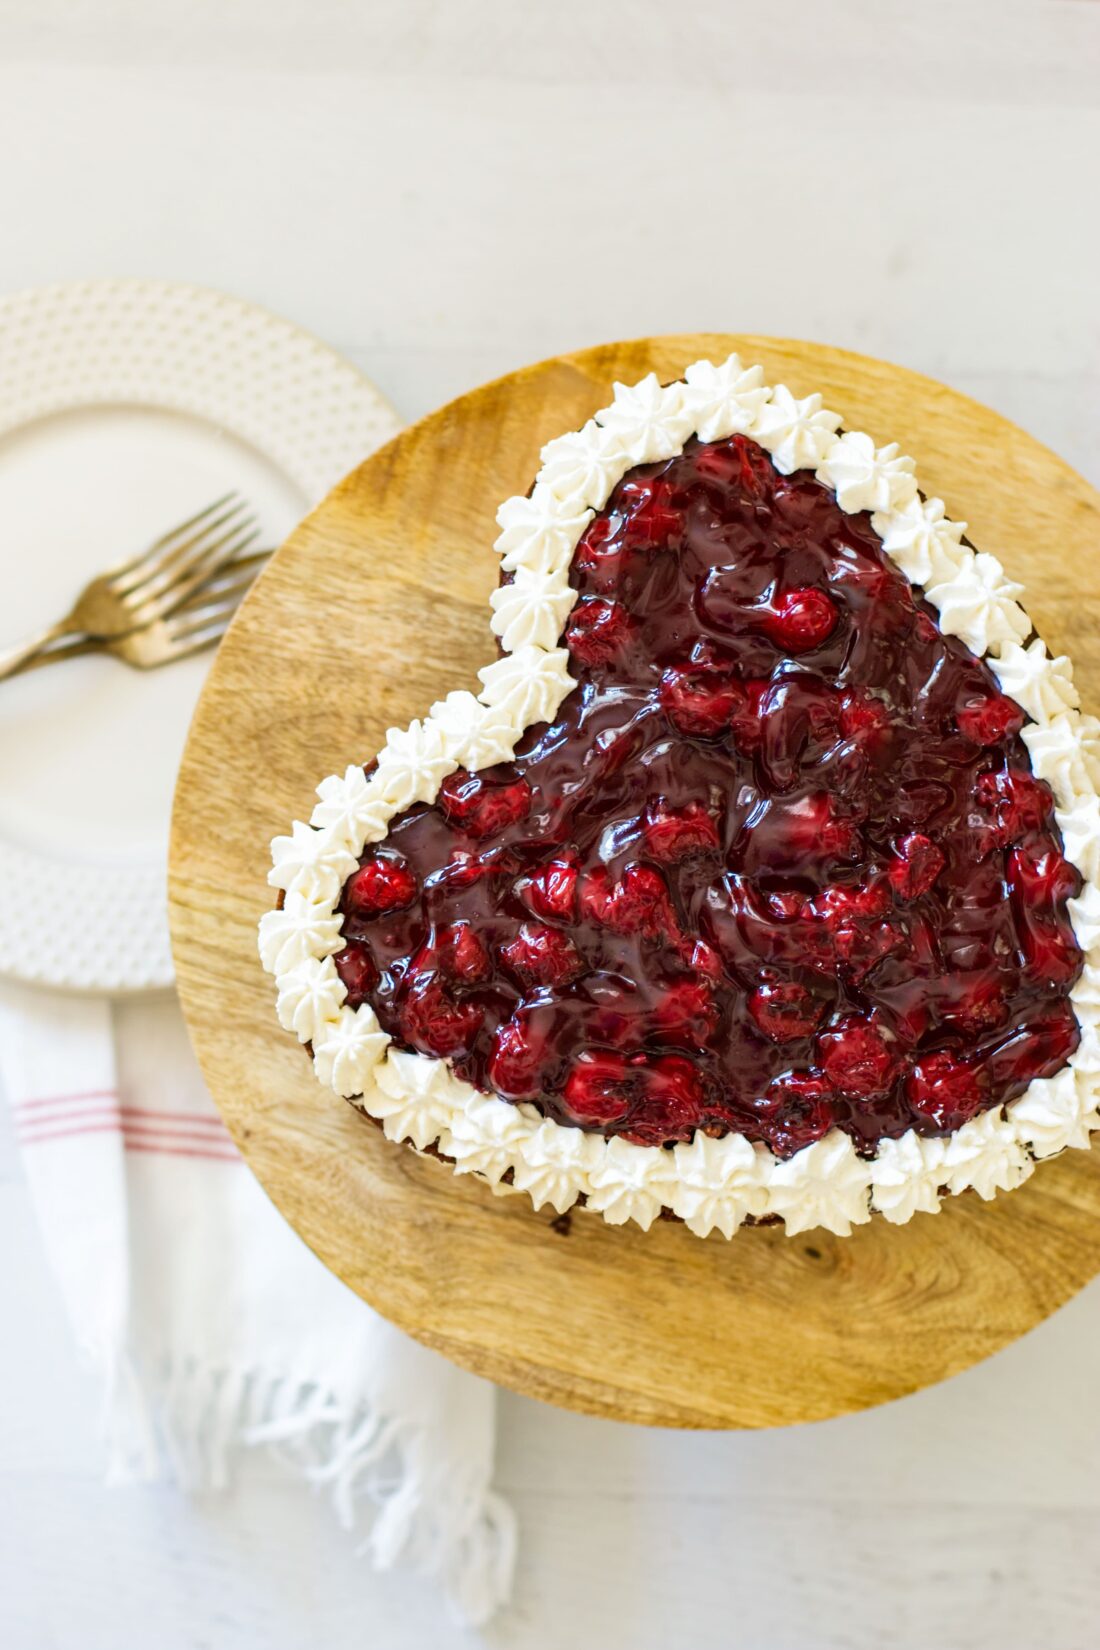
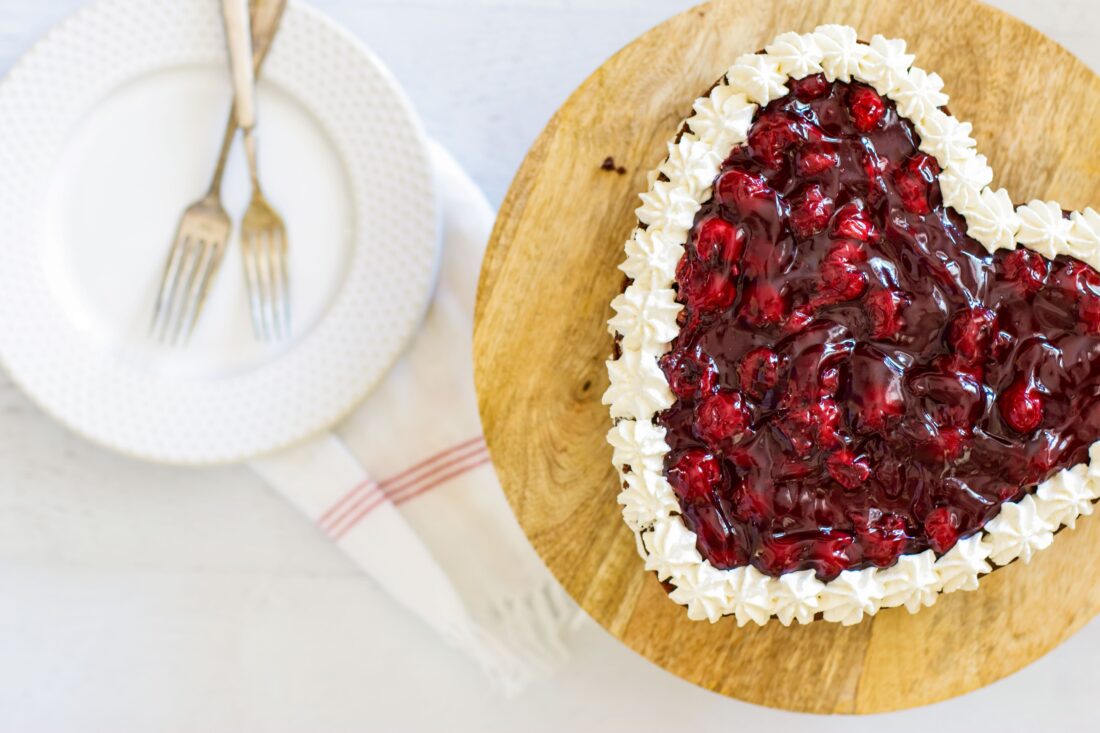
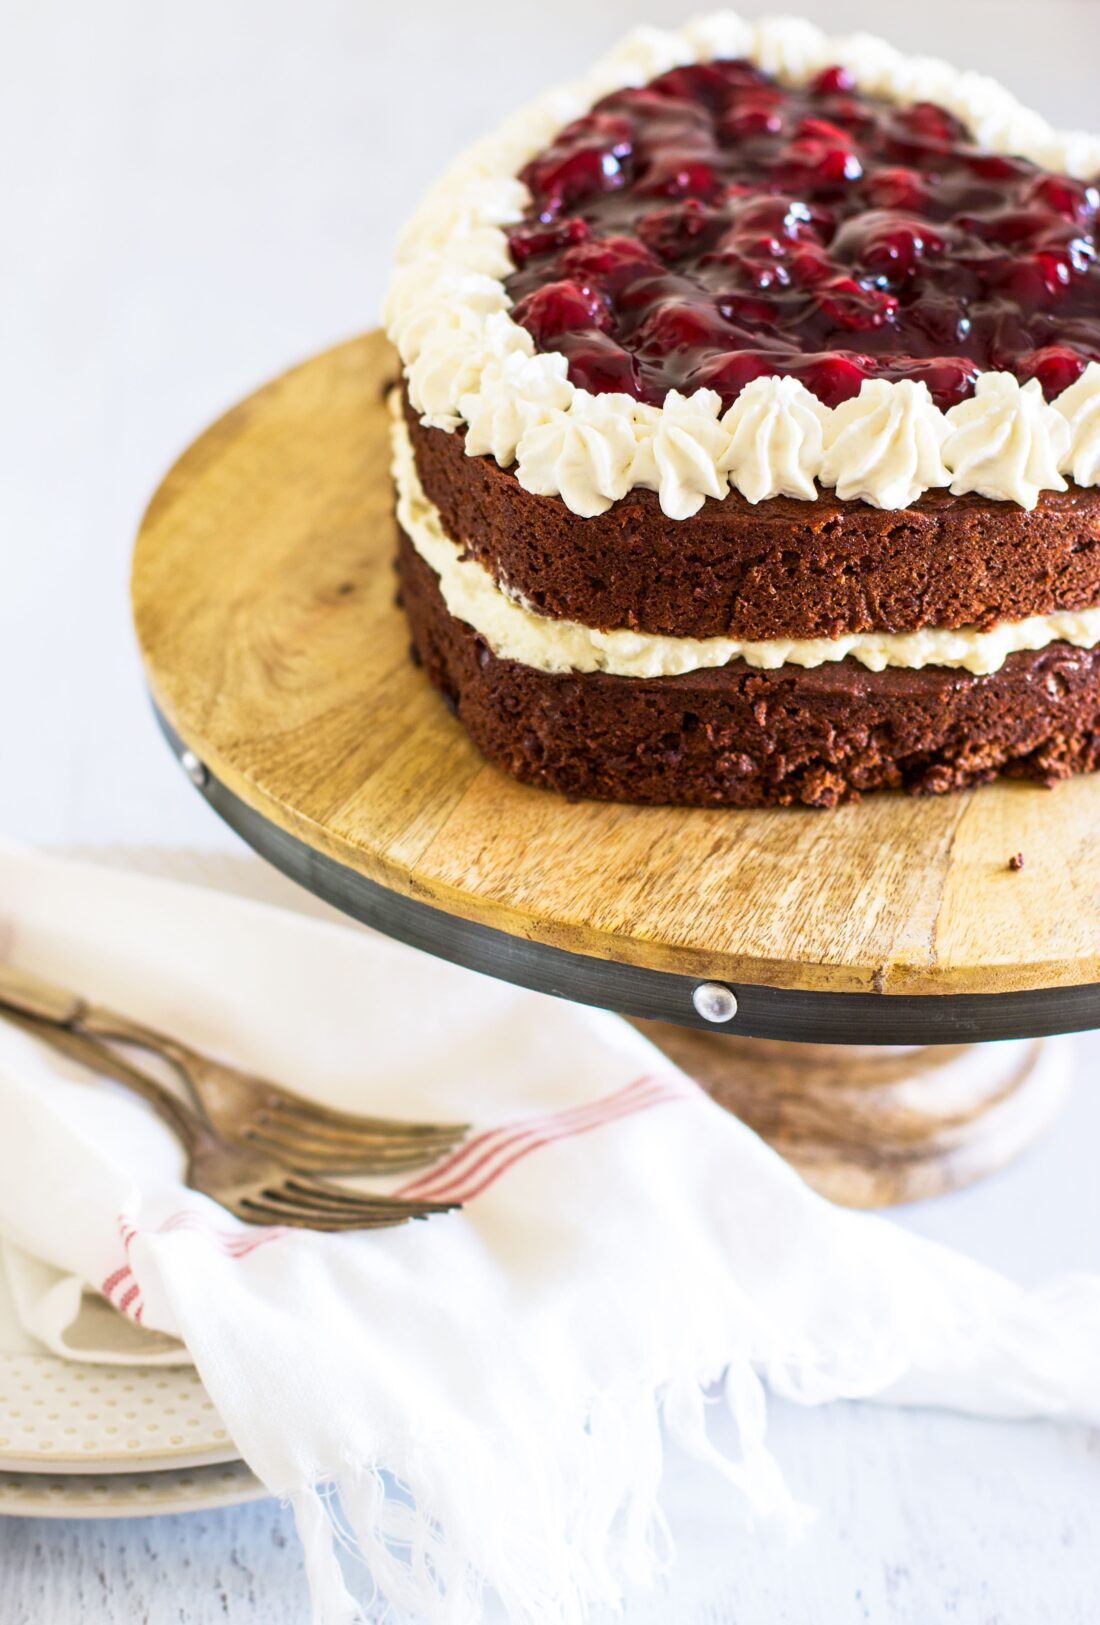
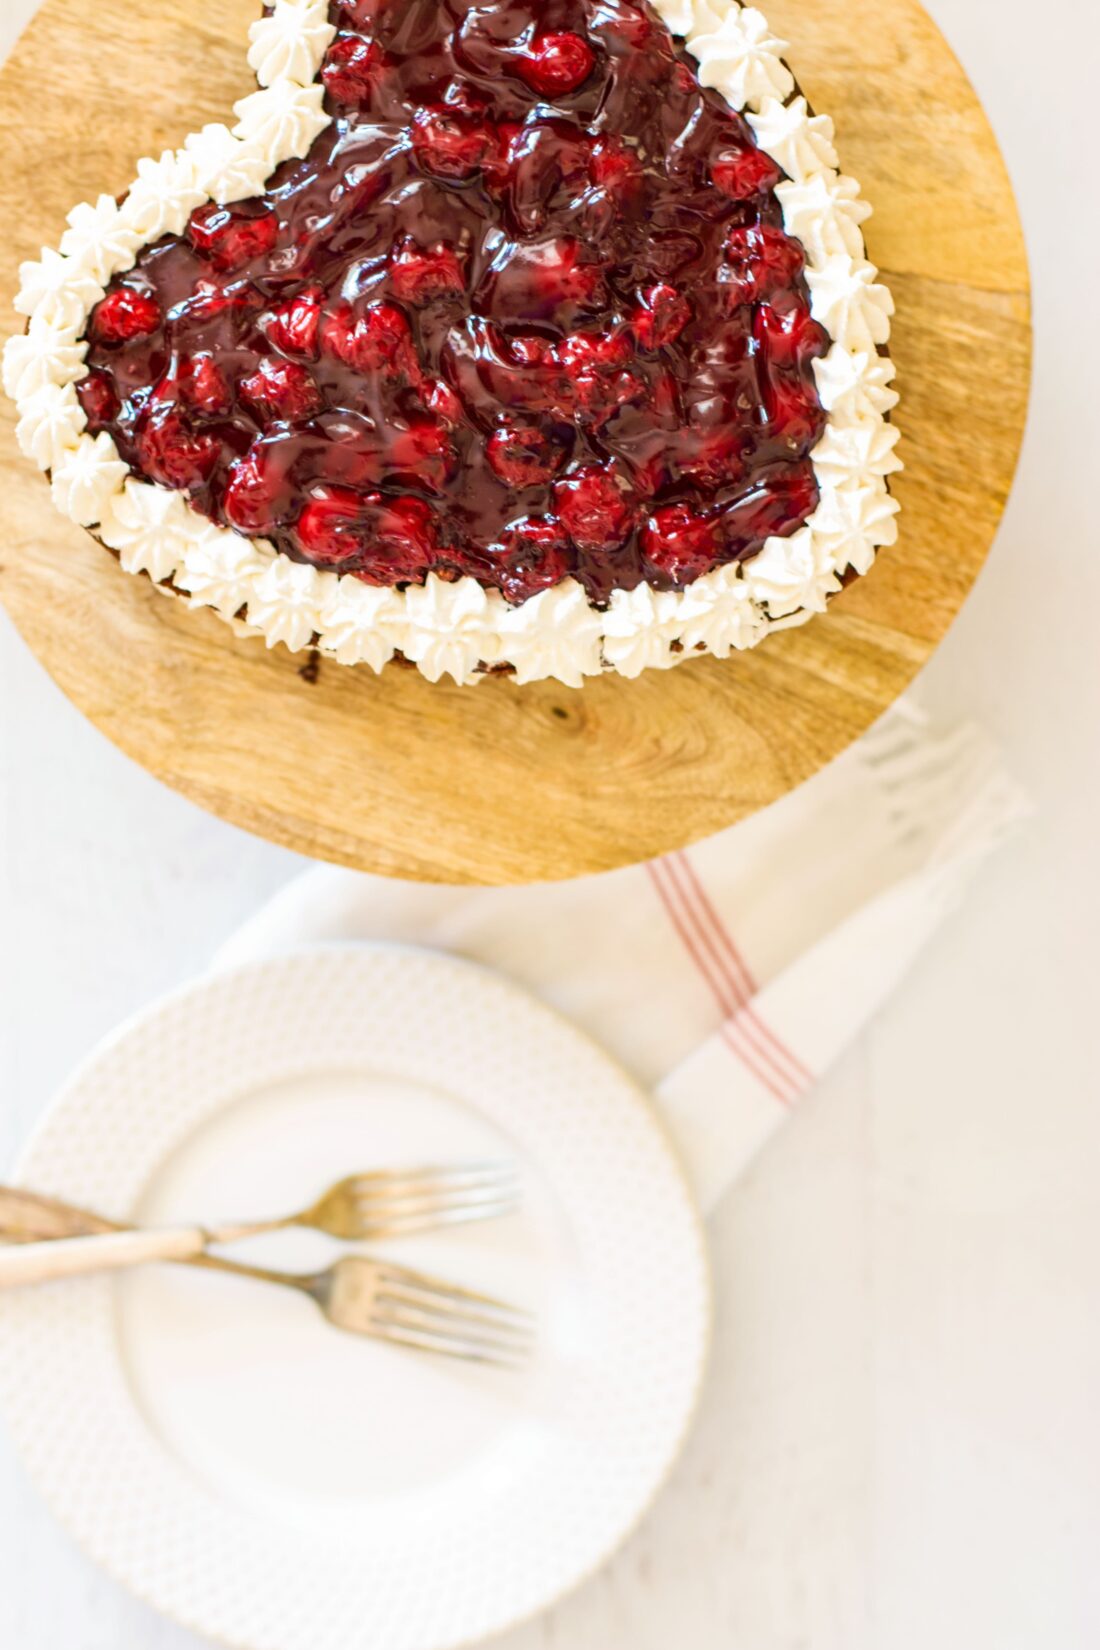
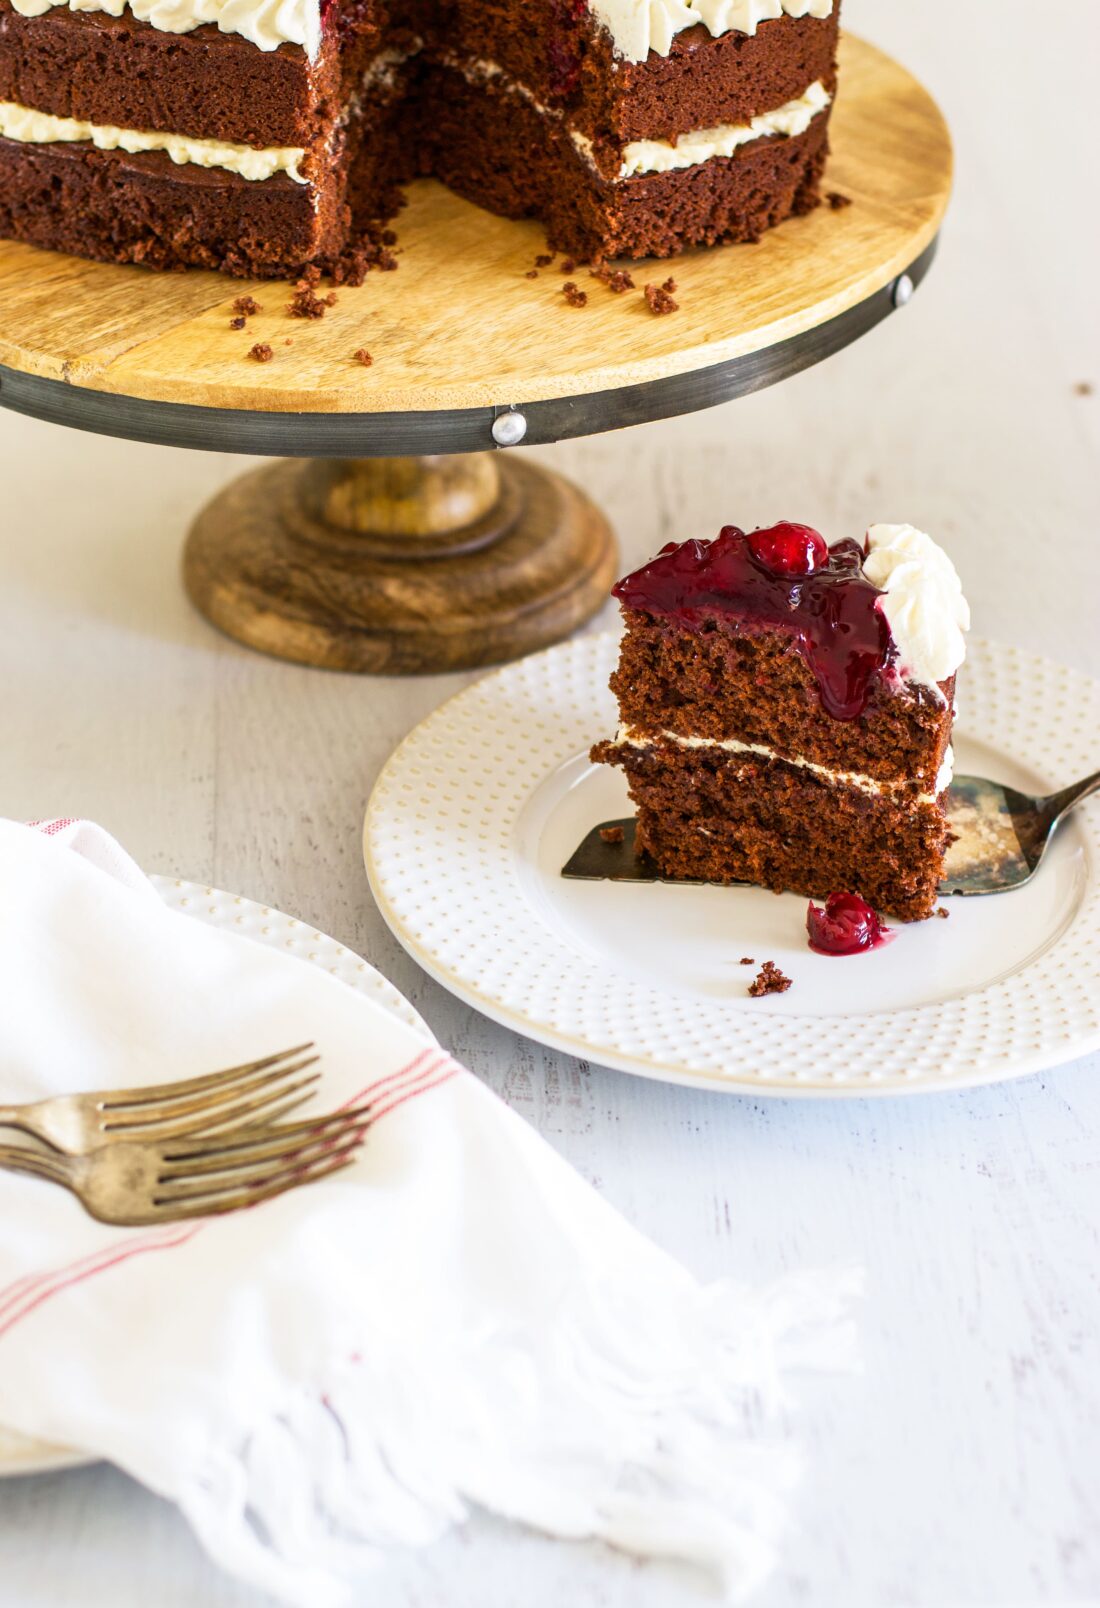
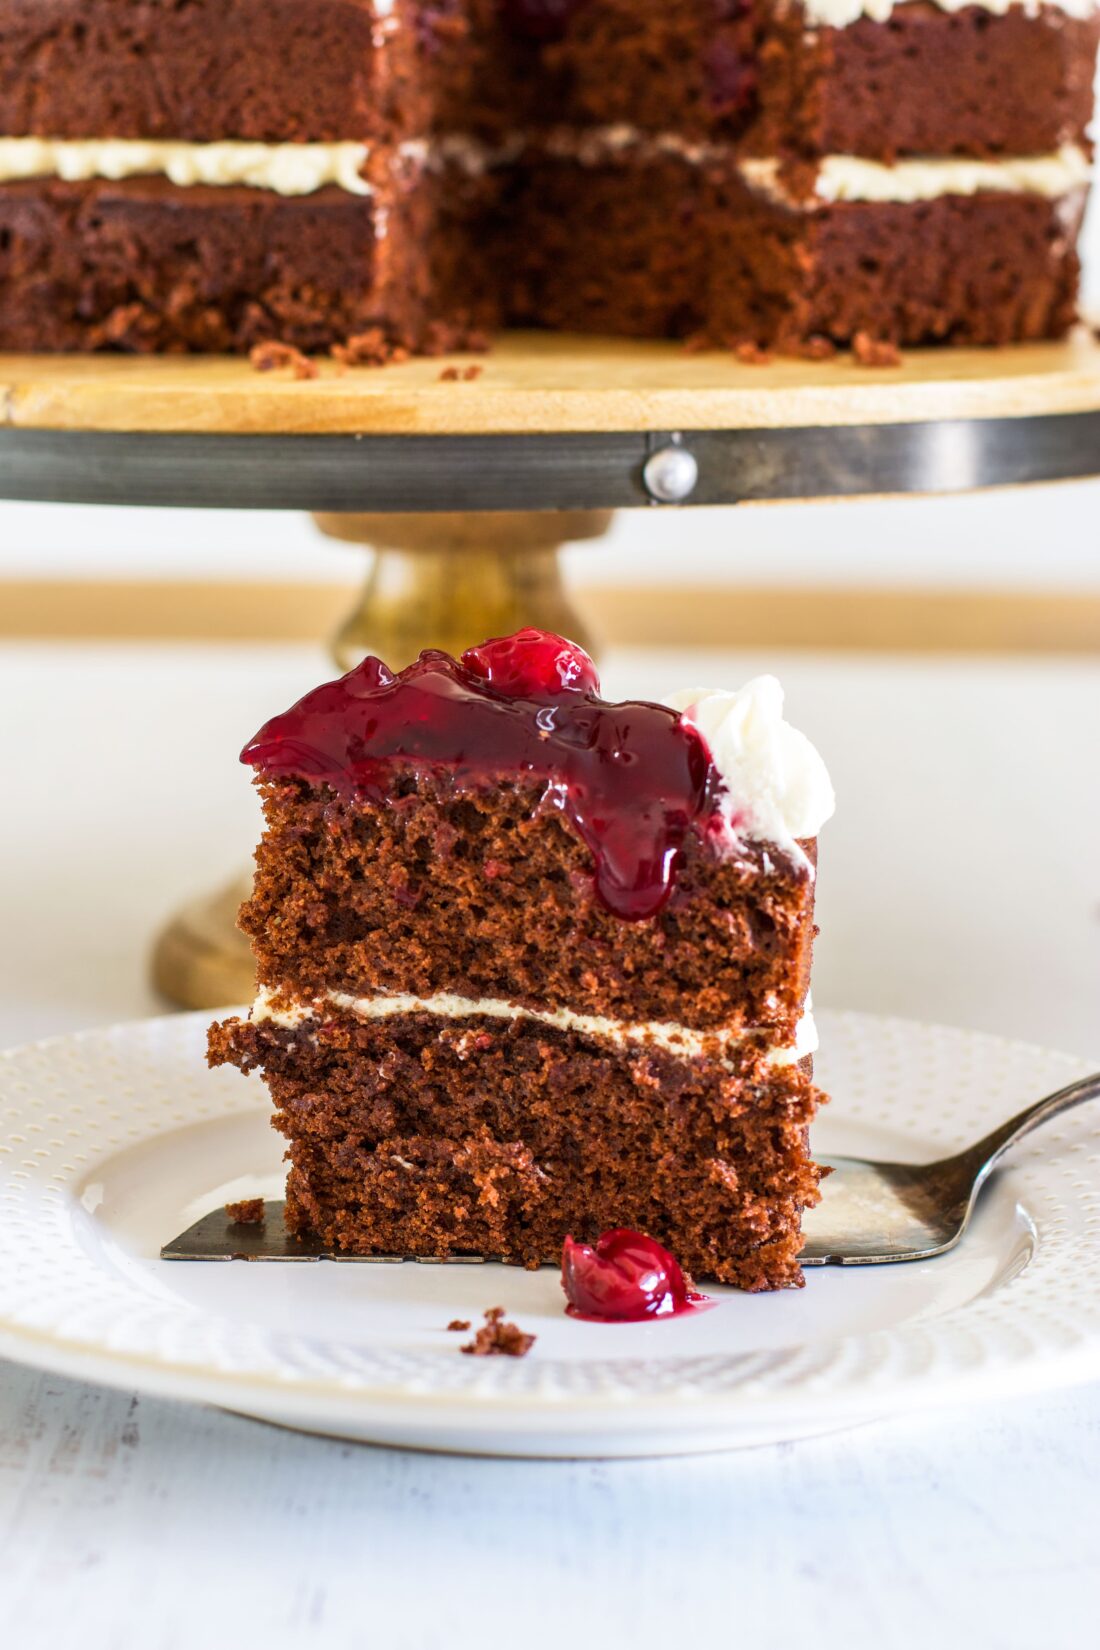
A perfect dessert for any occasion! Don’t let this Chocolate Cherry Cake Torte fool you. It looks like a lot of work, but it’s really not. This cake has two chocolate layers filled with a creamy filling, then topped with canned cherry pie filling with a pretty border of filling around the top edge.
Since Valentine’s is a few days away, I made this one using heart-shaped pans, but round cake pans work fine. And a round cake is every bit as pretty. This is a good-for-any-occasion cake. It just happens to be really pretty for Valentine’s because of the colors.
Chocolate Cherry Cake Torte
This Chocolate Cherry Cake comes from one of my trusted Mennonite cookbooks. I’ve been eyeing it for some time and recently decided to bake it up and share it with you. You’re going to love it! It was a big hit in our home.
My sweet little grands asked for a piece along with some hot chocolate to warm them up after sledding each day they were here. Watching each of them eat and enjoy their piece of cake did my heart good.
How Do I Make Chocolate Cherry Cake?
Even though this recipe is made from scratch, it comes together relatively quickly. Don’t let the number of ingredients discourage you from making it. As with any recipe, gathering all of your ingredients ahead of time really makes things go smoothly.
I did make a change to the chocolate cherry cake recipe a bit. Actually, it was a change and an elimination—the original recipe called for a chocolate cream frosting that you iced the sides of the cake with.
You’ve heard the saying “less is more” – I think it’s right in the case of this chocolate cherry cake recipe. Plus, it wouldn’t be near as pretty as seeing all of those lovely layers.
I also increased the cream filling ingredients to make an extra one-half of the recipe. Note: I did not make that change on this cake, so it’s not reflected in these images, but it is better with a thicker filling in the center since I did away with the outside frosting.
Ingredients for chocolate cherry cake layers:
- Flour: Gluten in flour creates the structure of the cake.
- Sugar: What kind of a cake would this be without the sweetness of sugar?
- Cocoa Powder: Aside from adding flavor, the acid in cocoa powder works together with baking soda to allow the cake to rise properly.
- Baking Soda: This works in conjunction with baking powder (and in this case, cocoa) to act as a leavening agent.
- Salt: Without salt, a cake wouldn’t taste like, well, cake. It brings out the best characteristics of the food it’s in.
- Olive Oil: This makes cakes more moist and tender. Oil coats flour proteins, preventing them from bonding with water and creating stretchy gluten, which holds ingredients together, making a chewy baked product. Olive oil enhances flavor better than other oils too.
- Buttermilk: In a cake recipe, buttermilk tenderizes gluten, giving baked goods a softer texture and more body.
- Eggs: Use room temperature eggs to bind the ingredients, keeping the finished product together. They also add volume.
- Vanilla Extract: Without this ingredient, you wouldn’t have the subtle, delicious flavor it offers
For the cream filling ingredients:
- Whipping cream
- Powdered sugar (confectioners sugar)
- Vanilla
Cherry topping ingredients:
- Cherry pie filling
- Almond extract

Step 1: Bake Cake:
- First, you’ll sift the dry ingredients into a mixing bowl. I used the bowl to my Kitchen Aid.
- Then you’ll add the remaining ingredients and beat the mixture until smooth.
Step 2: Egg Whites
- You will beat the egg whites until nice and foamy.
- Then you’ll gradually add the remaining sugar until stiff peaks form.
- After beating the eggs, you will gently fold them into the batter.
Step 3: Cream Filling
- In a chilled bowl, combine all ingredients and whip until stiff.
Step 4:
- Stir the almond extract into the cherry pie filling.
How to Assemble & Decorate Chocolate Cherry Cake
After cake layers are thoroughly cooled, place the bottom layer on a cake plate and frost with two-thirds of the cream filling, reserving the remaining one-third of the filling for the decorative border on top.
Then place the second layer on top of the filling. Top the second layer with the cherry pie filling. Spread the filling out, leaving about an inch of space around the cake’s entire outside edge.
Using a piping bag, pipe a decorative border of your choice in the one-inch border around the cake.

Cook’s Tips:
Give my helpful tips a try. They will make things go smoothly when making this Chocolate Cherry Cake Torte recipe.
- Gather Ingredients: Getting all of your ingredients together ahead of time is a huge time-saver.
- Use Parchment Paper: Trace the bottom of your cake pan and cut it out to fit your pan. Insert cut-outs into each pan and spray with non-stick cooking spray. Or, check out this method over at Kitchn.
- Chill Bowl + Beaters: Using cold cream straight from the fridge is crucial for getting the maximum volume and the best texture. Using a chilled bowl and beaters help ensure that your cream stays cold through the whipping process.
- Cool Cake Layers: It’s important to allow the cake layers to cool completely before adding the cream filling.
Storage Tips:
- How to Store Chocolate Cherry Cake: This dessert is best kept in an airtight container in the fridge for 3 – 4 days.
- Freezer Storage: Since this is a homemade whipped cream frosting (free of commercial stabilizers, I don’t recommend freezing the cake already iced and decorated. However, you can make the cake layers ahead of time and freeze them once they have thoroughly cooled.
Wrap each layer in plastic wrap and then insert it into a gallon-sized freezer bag for an extra layer of protection. I like to use these cake boards when freezing my layers. Place the cake on the board before wrapping it with plastic wrap.
Cake boards help keep the bottoms flat, which could be an issue with freezers with wire rack shelves. Cardboard rounds also allow you to stack the cakes in the freezer, saving space.
To thaw the frozen cake layers, remove them from the freezer bags and thaw them in the plastic wrap. Once the layers are thawed out, remove plastic wrap and blot any excess moisture with a clean paper towel.
More Cake Recipes You Might Enjoy:
Chocolate Cherry Cake Torte
Ingredients
Cake:
- 1¾ cups flour
- 1½ cups sugar divided
- ½ cup cocoa powder
- ¾ tsp. baking soda
- ½ tsp. salt
- ½ cup olive oil
- 1 cup buttermilk
- 2 eggs yolks and whites separated
- 1 tsp. vanilla extract
Cream Filling:
- 1½ cup whipping cream
- 4½ tbsp. powdered sugar
- 1½ tsp. vanilla extract
Cherry Topping:
- 1 cup cherry pie filling
- ¼ tsp. almond extract
Instructions
- Preheat your oven to 350°. Prepare 2 9-inch layer cake pans – see notes below. Have a chilled bowl in the fridge.
Cake:
- Sift all dry ingredients together in a mixing bowl. I use my Kitchen Aid bowl.
- Add the oil, buttermilk, egg yolks, and vanilla to the dry ingredients, beating until smooth.
- Beat egg whites until foamy, then gradually add sugar, and beat until stiff peaks form. Using a rubber spatula fold this into the batter.
- Pour the batter into the prepared pans and bake at 350° for 20-25 minutes. When cake is done it should spring back when touched lightly. Cool in pans for 5 minutes then turn out onto cooling racks and cool completely.
Cream Filling:
- Combine in a CHILLED bowl and whip until stiff.
- Spread ⅔'s of the cream filling on the first layer, reserving the remaining ⅓. Add the second layer of cake.
Cherry Topping:
- Mix the cherry pie filling and almond extract. Spoon the pie filling on top of the top layer leaving a 1-inch edge around the cake. Using the reserved cream filling, pipe a decorative edge around the top outer edge of the cake.
Notes
Nutrition
Disclaimer: Nutritional values (per serving) are approximates only and will vary based on cooking methods and brands of ingredients used.
© SERVING UP SOUTHERN. Content and photographs are copyright protected. Sharing of this recipe is both encouraged and appreciated. Copying and/or pasting full recipes to any blog post or social media is strictly prohibited.
Created for Your Pinning Pleasure!



Your cake looks so delicious. The cherries on the tops make a beautiful display!